
Remote Application Server (RAS) Cluster
First Step:
Request to have a RAS account created by clicking HERE. Make sure to include a unique group or project name to help identify specific application you will need and limit the clutter in your client window.
RAS Client Software:
Though you can use an HTML5 version in your browser of choice to connect to the RAS cluster the performance that you get from the RAS client is far greater and is highly recommended. Download the RAS client software for either Windows, Mac, Linux, iOS, Android, Chrome or Windows Phone. This is required to optimize your virtualized application performance.
Setting Up the RAS Client Software:
After your assigned your new RAS account you'll need to setup the RAS client software you recently downloaded. Please follow the below steps to assist your setting up the client software:
Select New Connections from the Parallels Menu…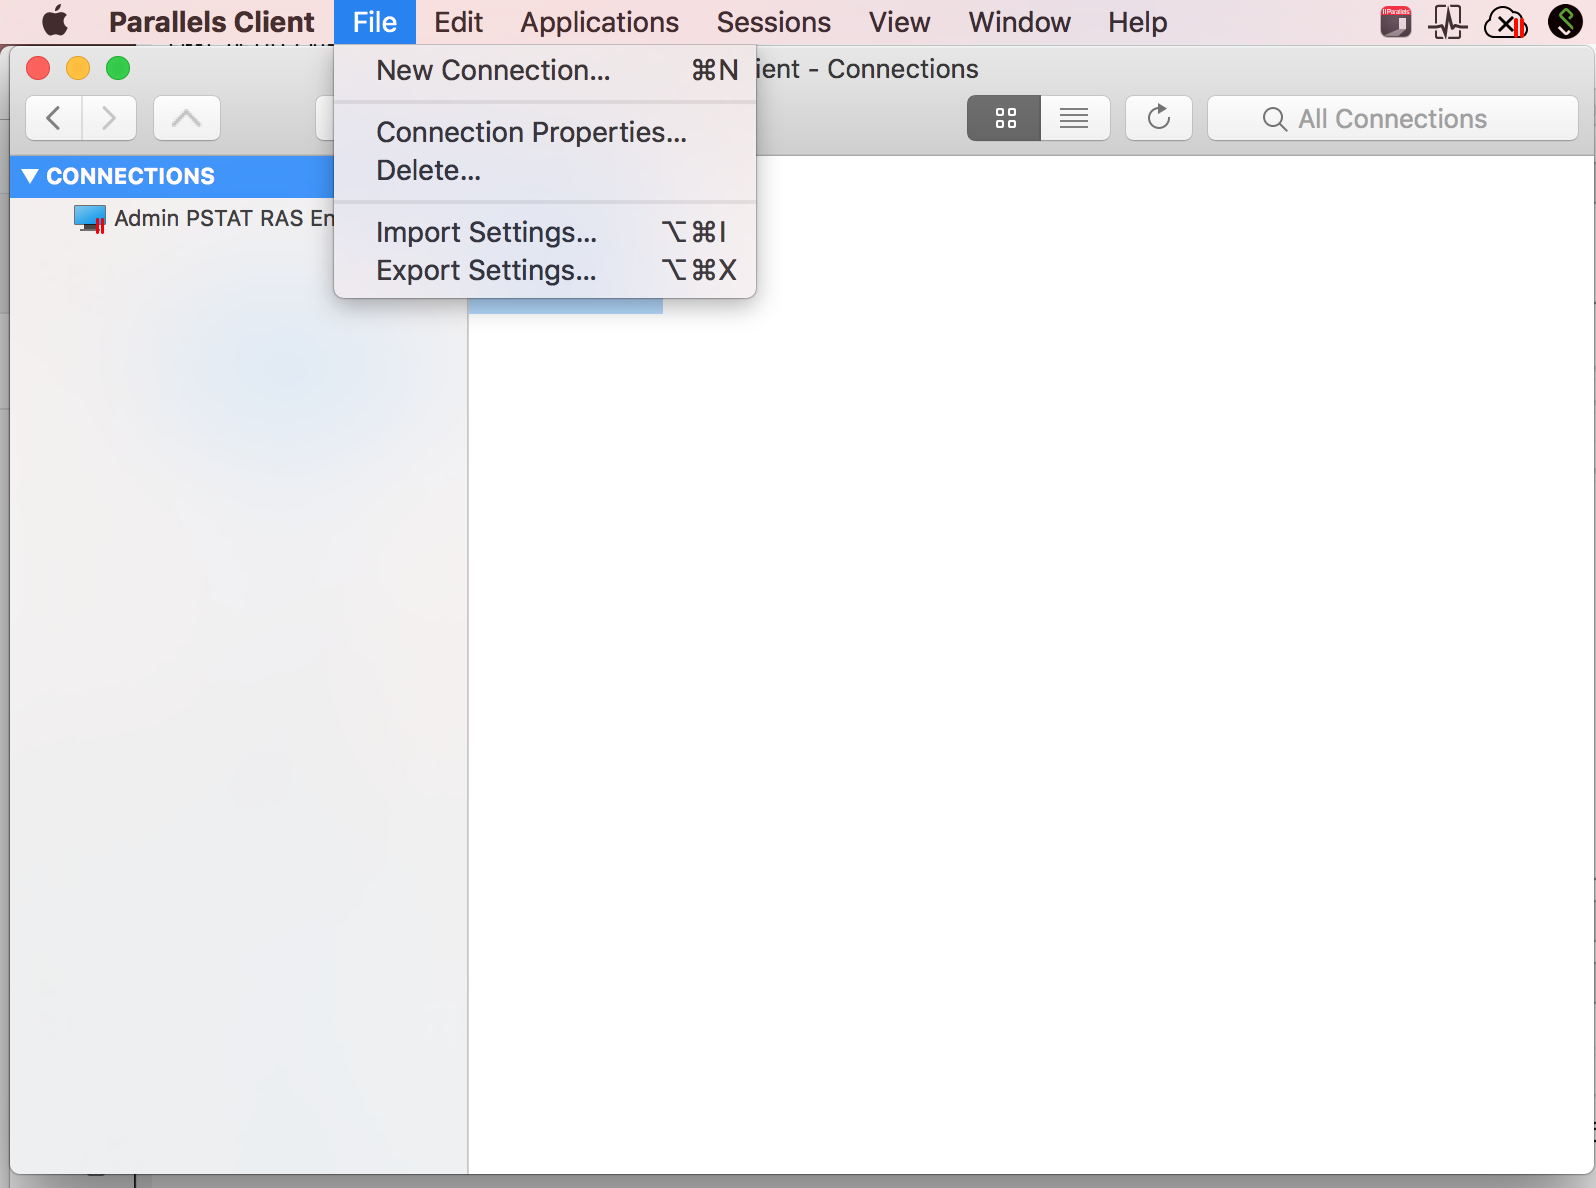
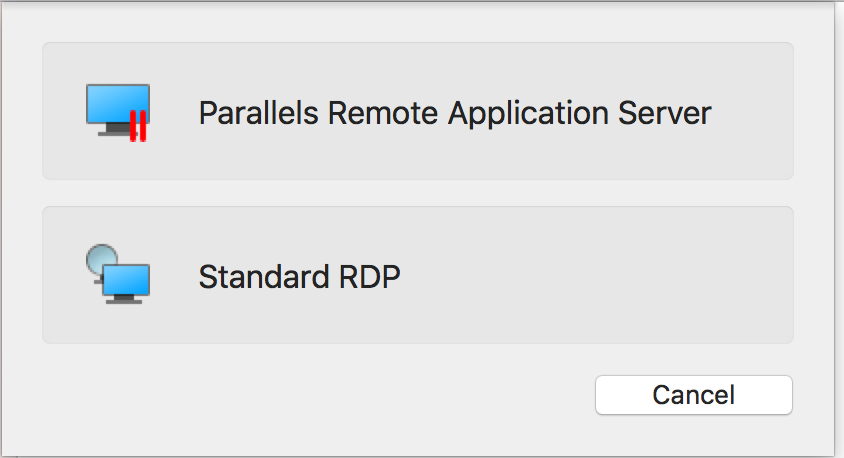
Click, “Parallels Remote Application Server"
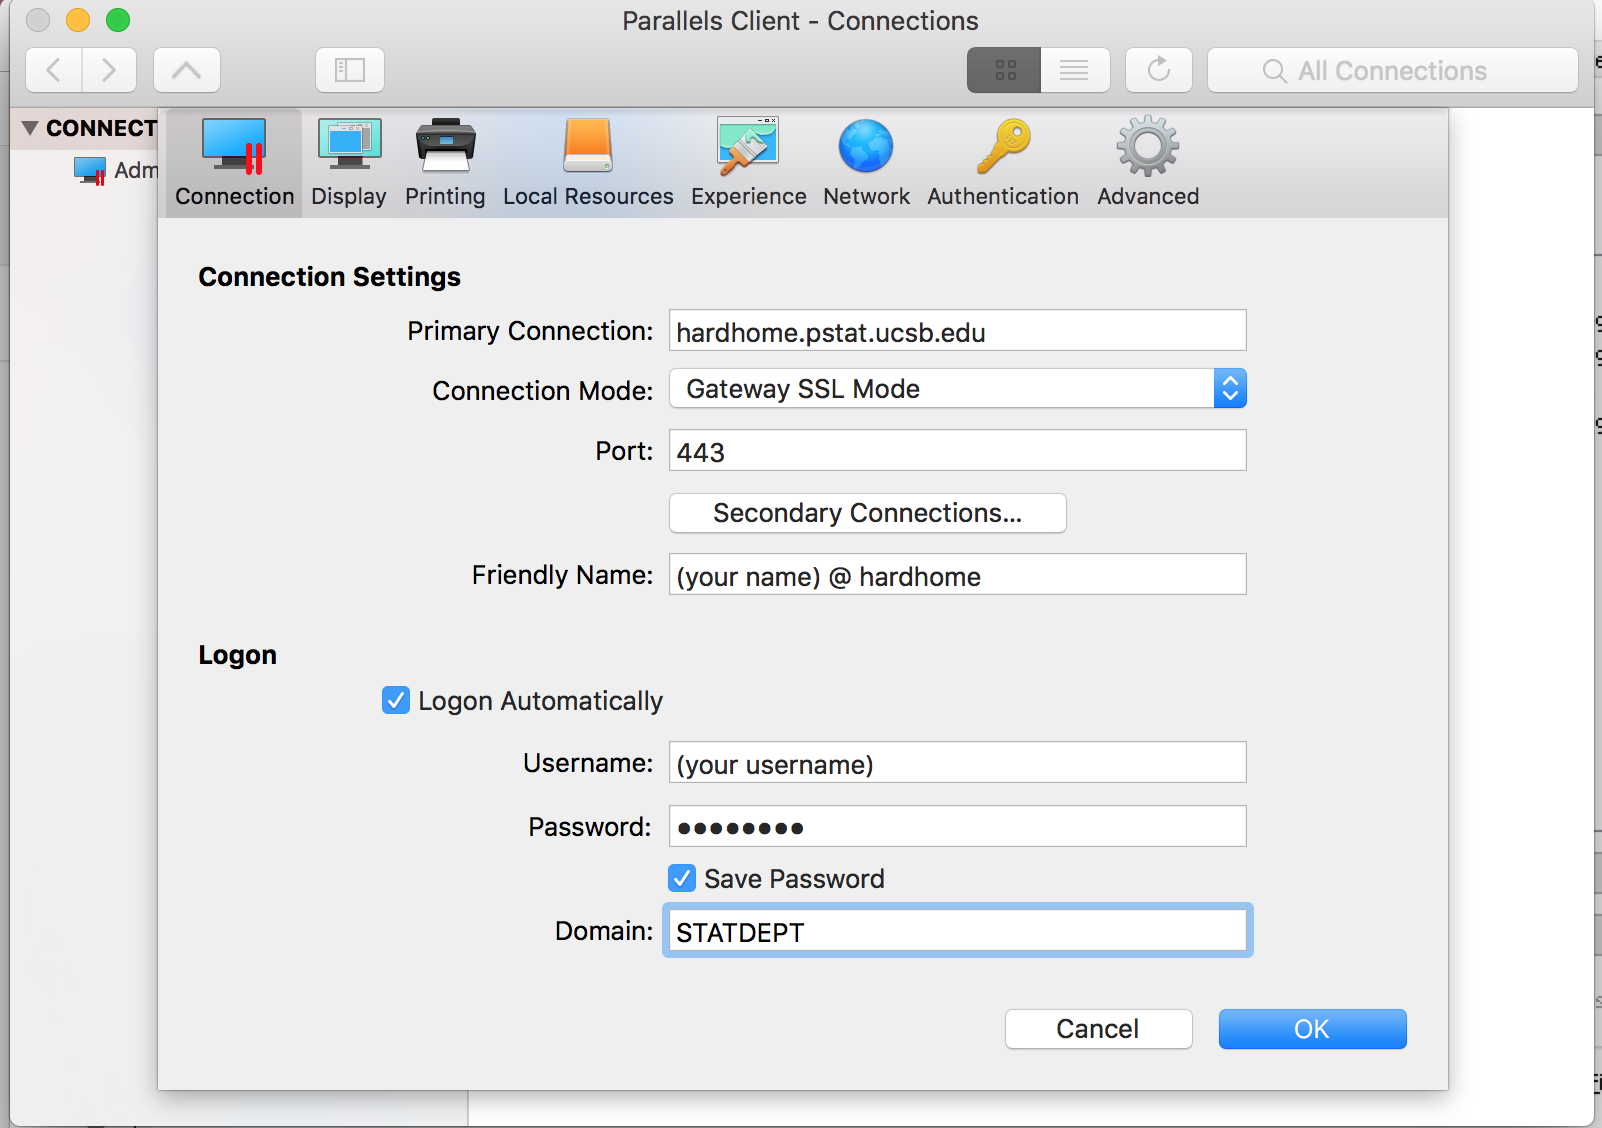
After clicking advanced settings, input all of the information as below: (replacing (your username) with your actual username)
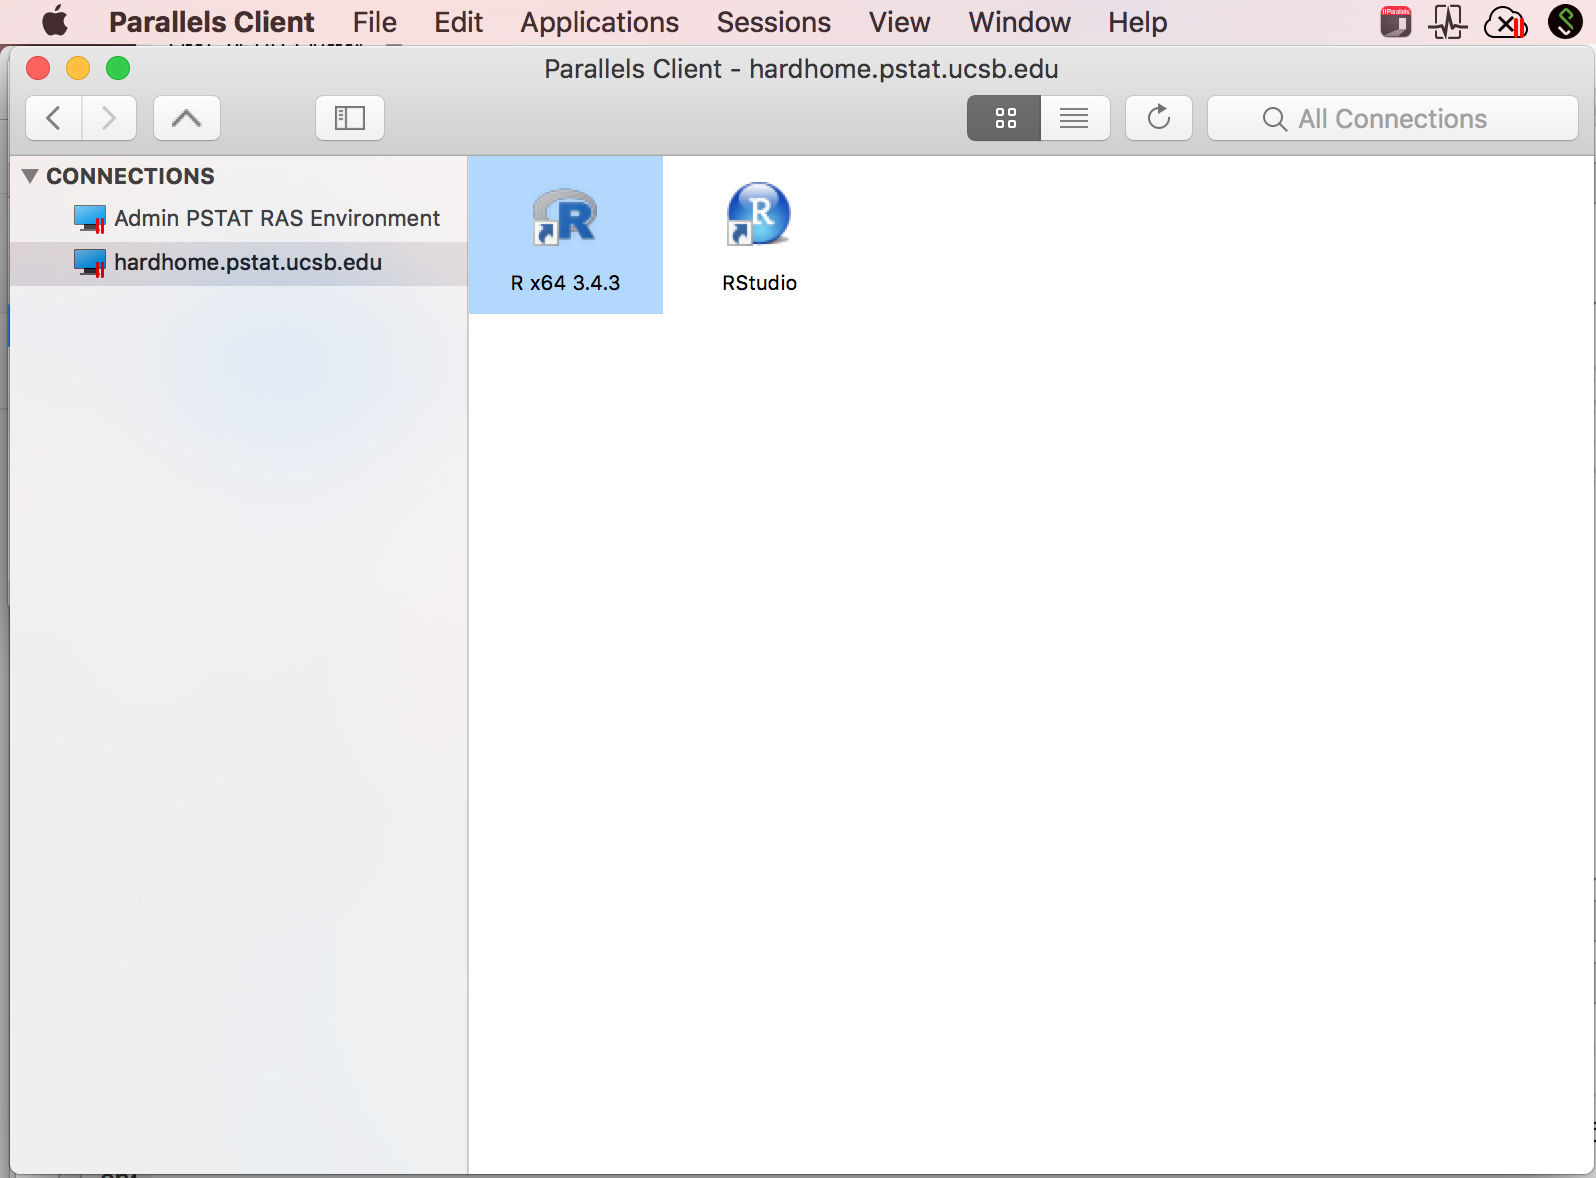
Once authenticated and connected you will see the applications you have access to below:
Connecting Local Storage to RAS Environment:
Follow the below steps to connect local storage to your RAS enviornment:
Step 1:
Right-click on your RAS connection, from the hierarchical menu the appears select, "Connection Properties..."

Step 2:
Now in the "Connection Properties..." window select, "Local Resources" from the icons along the top.

Step 3:
Now from the, "Local Devices and Resources" section of this dialog click on the check box to the left of "Disk drives" then click on the, "Configure..." button

Step 4:
Click the "+" sign in the pop up dialogue box that appears.

Then select the drive or folder that you would like to link. In the sample below I selected my whole home directory:

Step 5:
Click "OK" then on the next dialogue box again click "OK". Log off of your RAS account then log back on.

Step 6:
After logging back on and connecting to one of your RAS programs, in that programs Open dialogue box you should see something like what's below:

Your device will appear with, "Drives on (name of your computer)" clicking on that will allow you to move and copy files between the RAS and your local environment.